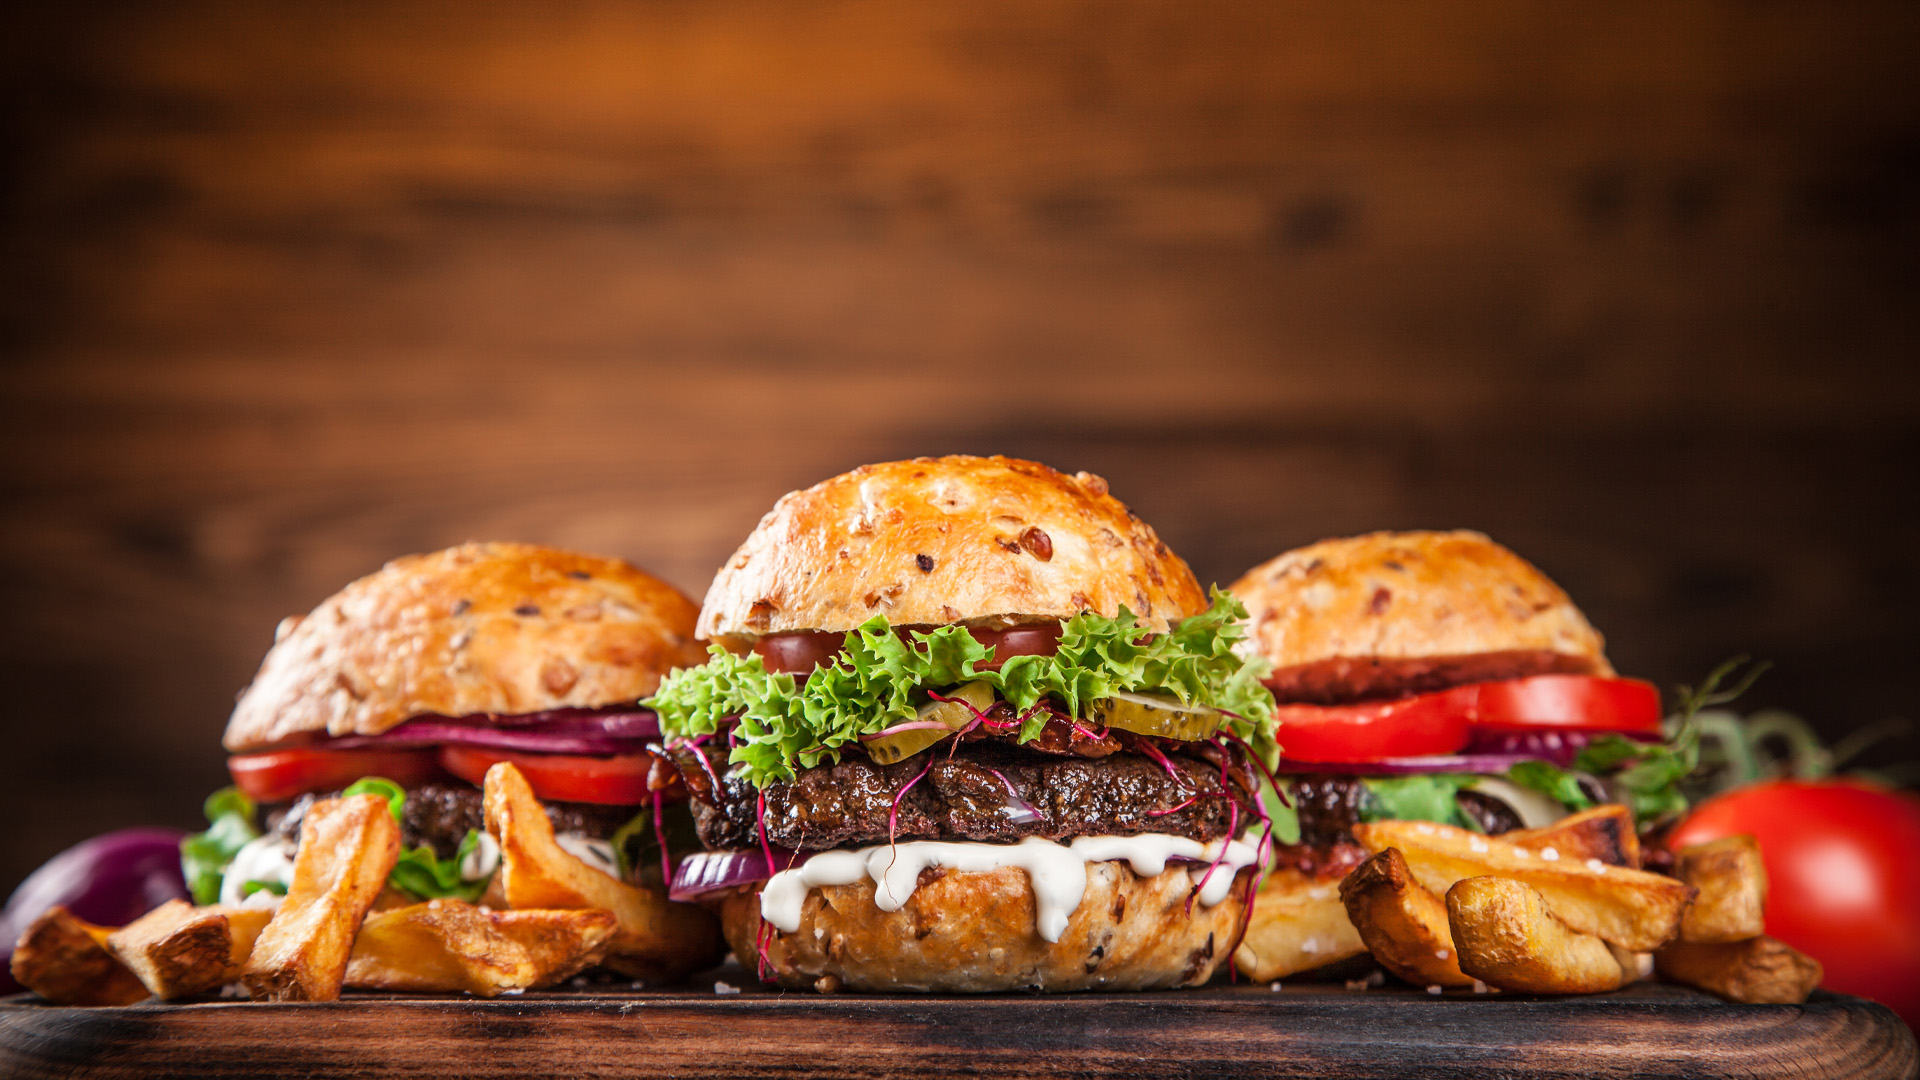
Get ready for the grill—or griddle—with these awesome burger recipes from Goodwill NCW!
Getting ready for the next cookout is super easy, and affordable, when you shop at your local Goodwill NCW store for some cookout essentials. While you can’t get your buns and burgers from Goodwill NCW, you can get almost everything else you’ll need for a successful cookout!
Follow along to get some burger inspiration along with some thrifty shopping tips to get you ready for grilling season!
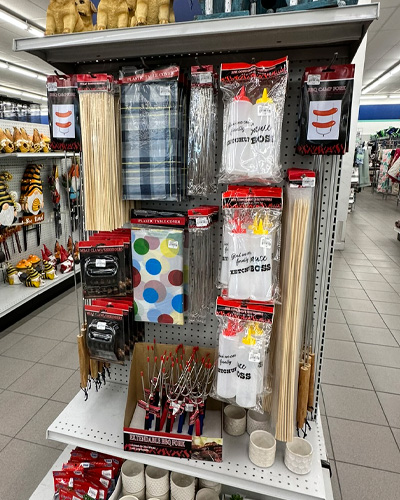
Gear Up at Goodwill NCW
Finding everything you need for a successful cookout is easy at Goodwill NCW! Head to your nearest store and look for:
- Look for cooking utensils
- Look for aprons
- Look for cups
- Look for plates
- Cast iron pan
- You might even find a new-to-you grill while you’re there!
The cast iron pan is going to be super helpful for the smash burger recipe below as well as cooking some vegetables in for a healthy side dish to accompany your delicious burgers. Did you know a cast iron pan can be used on the grill? It is perfect for small foods like chopped onions, delicate foods like fish, or for when you need a flat surface.
Skip to Burger Recipes:
Prep the Grill!
Whether you’re using charcoal or gas, it’s important to prepare the grill before you cook anything. If this is your first time grilling for the season, it’s important to ensure your grill is clean and there are no loose parts. If you have a gas grill, check that your propane tank has enough gas and that all the lines are working properly.
Once you know your grill is in good working order, you’re ready to turn up the heat! No matter what type of heat source you’re working with, it’s crucial to pre-heat the grill and season the grates (and your cast iron pan if you’re using one).
Seasoning the Grates & Your Cast Iron Pan
Seasoning your grates is a crucial step when getting ready to grill! By seasoning your grates, you make sure your burgers develop those perfect grill lines and prevent anything from sticking or falling apart.
Start with cleaning your grates if they aren’t already clean. You’ll need an oil with a higher smoke-point like peanut oil, canola oil, vegetable oil, sunflower oil, or avocado oil. You can even find some of these in a spray bottle to make this a step little easier.
Start with a cool grill and cover the grates with a thin layer of oil, wiping off any excess drips. Once your grates are covered with a thin layer of oil, start your grill, and leave it around 400 to 500 degrees for about 30 minutes. You can use this same process for your cast iron pan as well.
With your grill and cast iron pan properly seasoned, you’re ready to start grilling! Read on for some delicious burger recipes!
3 Delicious Burger Recipes!
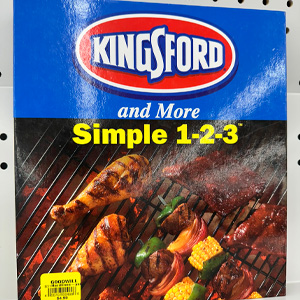
Check out the cookbook section at your local Goodwill or check out these recipes below for some delicious cookout inspiration! Any of these except the smash burger can work well with vegetarian or meat-alternative patties. Feel free to add your own twist too!
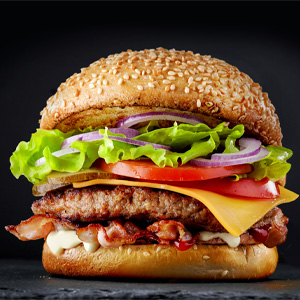
Classic Bacon Cheeseburger
The bacon cheeseburger is an all-time favorite for so many people! This recipe works best with extra-thick bacon.
Ingredients
- Extra-thick bacon
- Pre-formed burger patties
- Softened or melted butter
- Buns
- Cheddar cheese
- Toppings of your choice
Directions
- Throw your burger patties on the grill and cook to your desired level of doneness. Add a heap of butter for that extra goodness!
- Once the burger is approaching completion, remove from direct heat and add a slice of cheese to the top of the patty.
- While the cheese melts on the burger, throw the extra-thick bacon onto the grill grates over the charcoal or flames. This is going to cook fast so it’s important that you keep an eye on it until it’s done.
- Remove the finished bacon from the grill and set aside until ready to assemble the burger.
- Separate the bun and butter the inside of each half. Place buttered side down on grill for about 30 seconds.
- Remove the buns from grill, add burger patty with melted cheese, and top with bacon and your desired toppings!
California Burger
The California burger has become a staple in burger joints no matter what state you’re in, and for good reason! This burger is quite refreshing after a hot summer day and is a wonderful way to get some extra veggies in your dinner! Featuring some fresh vegetables that the Golden State is known for makes this burger stand out from the crowd!
Ingredients
- Pre-formed burger patties
- Buns
- Bacon
- Pepper jack cheese
- Sliced avocado
- Leaf lettuce
- Sliced tomato
- Raw onion, sliced
- Mayo (this is best with McCormick Mayonesa)
- Yellow Mustard (optional)
Directions
- Toss the patties on the grill and cook until almost done.
- When almost done cooking, remove from direct heat and add a slice of cheese to the patty.
- Get the bacon on the grill. Watch this closely as it cooks quickly! Remove bacon when it reaches desired crispiness.
- Separate the bun and place the inside of each half on the grill for about 30 seconds.
- Remove bun, add mayo to both halves.
- Assemble your burger in this order:
- Bottom Bun
- Patty & cheese
- Bacon
- Mustard (optional)
- Onions
- Tomato
- Sliced Avocado
- Leaf Lettuce
- ENJOY!
Ingredients
- Ground beef, at least 15% fat (1 lb. makes about 4 burgers)
- Buns
- American cheese
- Diced yellow onion
- Clarified butter (ghee)
- Salt
- Ground black pepper
- Garlic powder
- Condiments of your choice
Directions
- Mix equal parts salt, ground black pepper, and garlic powder to create the burger seasoning.
- Form ground beef into loose balls, about ¼ lb. each
- Heat the cast iron pan and add enough clarified butter to generously coat the entire pan.
- Add the diced yellow onions and occasionally stir until they begin to caramelize.
- Once the onions are starting to caramelize, move them to one side of the pan to make room for you to cook the burgers.
- Place a ball of ground beef into the pan and use your spatula to smash it flat, remember that these burgers are supposed to be thin.
- After smashing the burger, generously sprinkle the season onto it.
- Cook patties for 2-3 minutes, flip, add cheese to the cooked side, then cook for 2-3 minutes on the other side. The burger patties should be cooked through in the middle and crispy on the edges.
- Separate buns.
- Add more clarified butter to the pan and put buns in the pan cut side down to toast.
- Everything is cooked, now you can begin assembling the burger.
- Assemble the burger in the following order:
- Bottom bun
- 1 or 2 burger patties (if using 2, add the caramelized onions between the patties)
- Caramelized onions
- Condiments/sauces of your choice
- Top bun
Enjoy Your Burgers and Your New Cooking Supplies from Goodwill NCW
Shopping at Goodwill NCW is the best secret to a summer’s worth of delicious cookouts at an affordable price! Now that you have got everything you need to have a successful cookout, it’s time to get cooking! By shopping for your supplies at Goodwill NCW you can feel good about knowing that your purchases contribute to our mission of Elevating People by Eliminating Barriers to Employment through skill-building programs.