 Skip to content

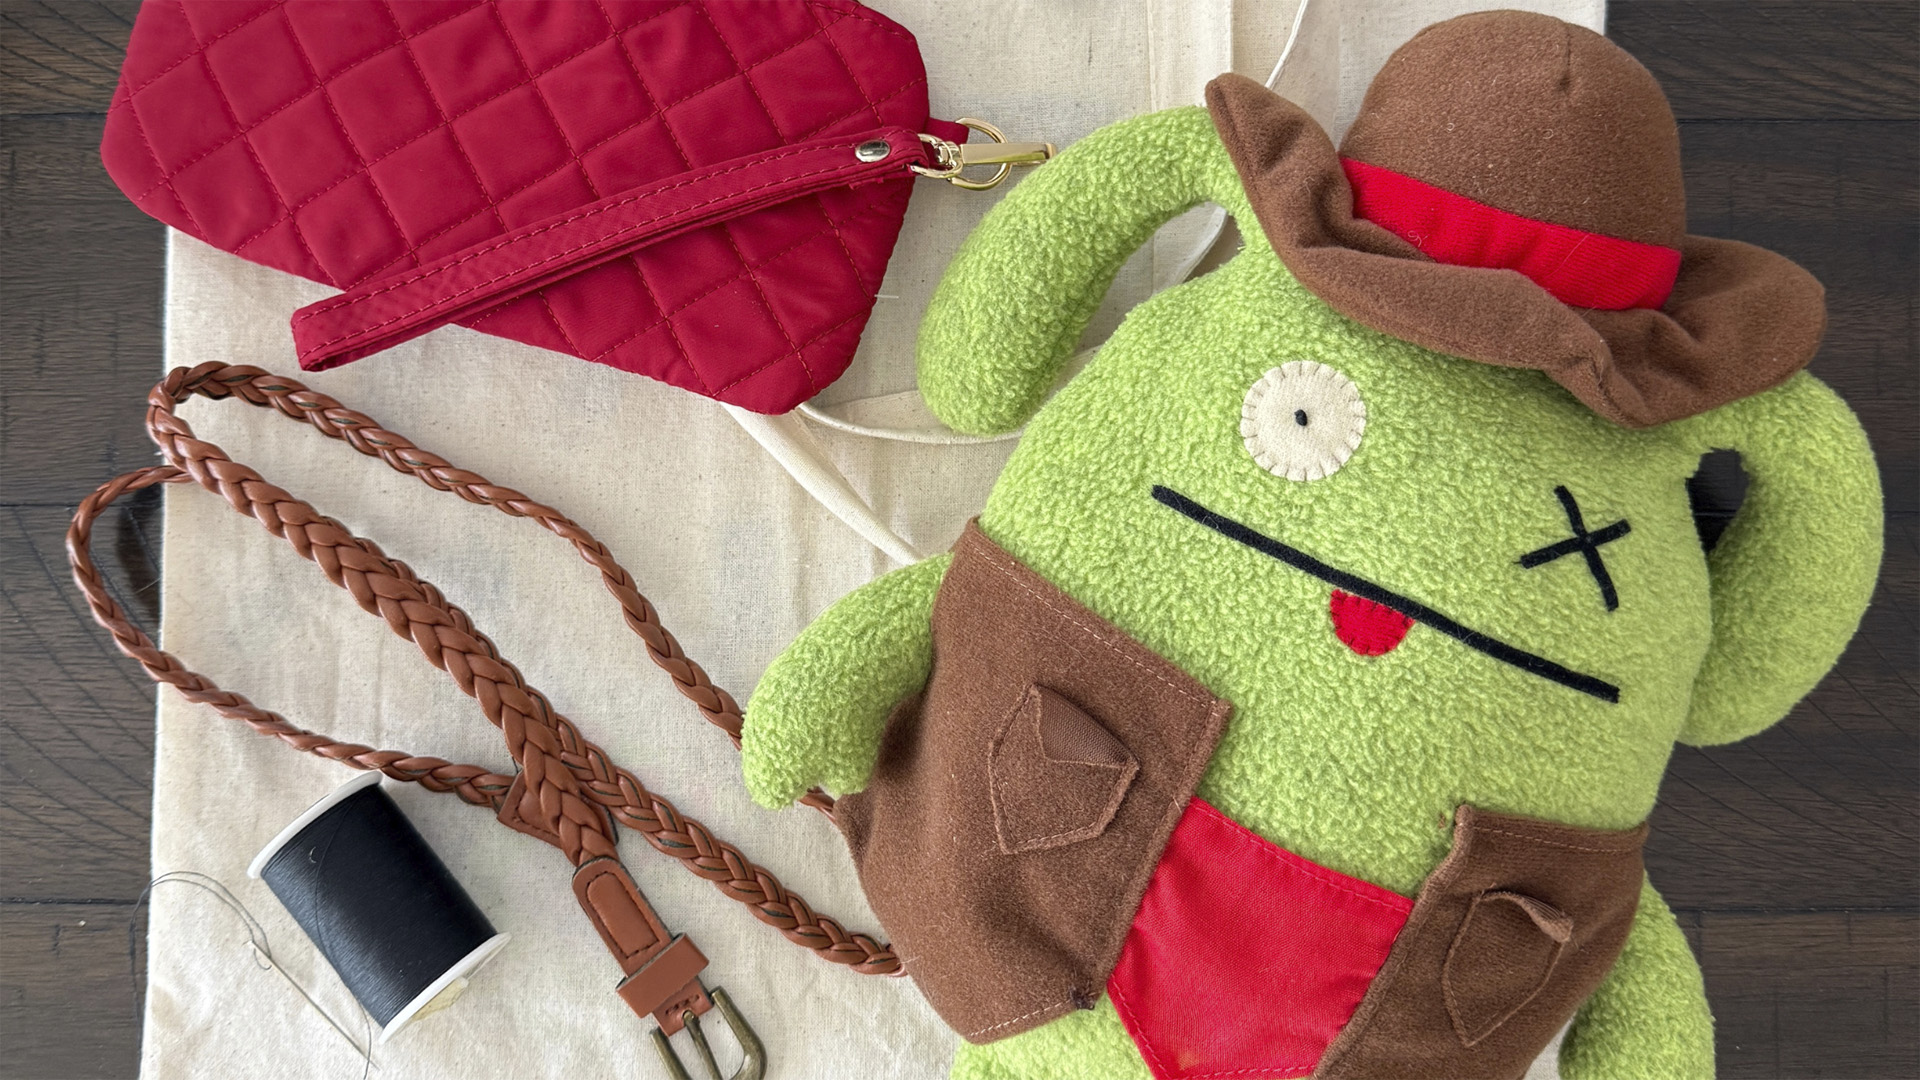
Plushie purses, plush character bag charms, and more adorable accessories have all found their way to my Instagram feed and Pinterest boards lately. They are fun and cute, but in many cases, they are expensive! I knew with some creativity and a trip to my local Goodwill NCW, I could find a more affordable option.
On a recent shopping trip, I found the perfect collection of items to create my very own plushie purse:
- An Ugly Doll plush
- A small red pouch
- A braided belt
Whether you’re looking to jump on the whimsical accessory trend or seeking a unique DIY challenge, this project is for you!
DIY Plushie Purse Project Steps
Supplies You’ll Need:
- A Plushie (Tip: A flatter shape will be easier to work with!)
- A small, zippered makeup bag or wristlet (It’s important that its size is comparable to the body of your plushie.)
- A thin belt
- Thread and a sewing needle (You can use fabric glue as a substitute!)
- Thick ribbon
- 2 D-rings or similar hardware (In this tutorial, I use a D-ring that has a swivel clip.)
- Scissors
01
Create the Purse Pouch
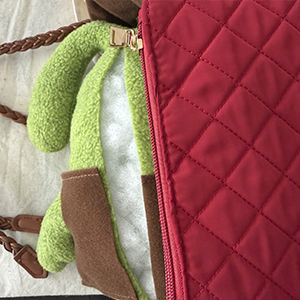
Line up your zippered bag with the back of your plush. Make a cut in the plush where you want the zipper to land. Then, put your zippered bag aside. We’ll come back to the pouch in step 4!
02
Add Ribbon Loops to the Hardware
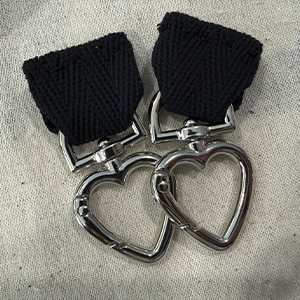
Your hardware needs something between it and your plushie to be properly attached. A thick ribbon loop is the perfect anchor for the hardware.
Cut a piece of ribbon, about 1 inch long (shorter or longer depending on your hardware/preference). Insert the ribbon and fold it over the hardware. Sew the ends of the ribbon to secure the hardware in the loop and repeat!
For a “cleaner” edge, you can fold and sew the ribbon end, too.
03
Sew Ribbon/Hardware onto the Plushie
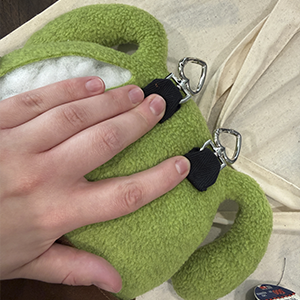
The next step is to sew on the loops. You’ll want these placed symmetrically on each side of the plushie. Depending on your plushie’s shape, you might attach these to the top sides of the plushie or space them out on the back of the plushie.
You only need to sew through the plushie material and the half of the ribbon loop that is aligned with the plushie. Since you’ll have to reach into the plushie to maneuver your needle, it may be helpful to set some stuffing aside so you have the room to work.
If your plushie’s shape doesn’t allow for easy sewing, fabric glue is another option!
04
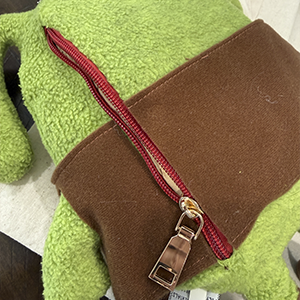
Sew the Zippered Bag into the Plushie
If your plushie is very full or firm, take out some stuffing to make room for the zippered bag. Insert the bag with the zipper exposed and open. Sew along the stitch line of the bag. Make sure not to sew too close to the zipper to avoid having your thread snag when opening and closing.
05
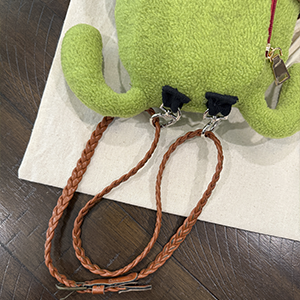
Add the Belt Handle
Your purse is nearly complete! Just take your belt, loop it through the hardware, and buckle it. Your purse is ready to style!
I love this DIY project because there are so many ways to make it your own. Your selection of items will be unique to your style and aesthetic, which allows you to craft a bag that’s perfectly you. If anyone asks where you got your bag, you can say it’s couture (with the help of Goodwill NCW, of course)!
I think this DIY project is a great “anytime” activity but could also be done for a specific event or adventure. For example, if you have a theme park trip coming up, you can search for plushies of characters that relate to the theme park for the base of your craft. Imagine showing up for your vacation with a custom, on-theme bag!
Once you’ve completed this craft, you can get creative with plushies in other ways, too. Earlier, I mentioned plush bag charms. Now that you can make a plushie purse, creating a bag charm would be easy! All you would need is:
- A small plush
- Thread and a sewing needle
- Thick ribbon
- 1 D-ring with a swivel clip
- Scissors
Just attach the ribbon to the D-ring as you did for the purse. Then, attach the ribbon to the small plush. That’s all!
I hope this inspires you to get creative and look for project inspiration in the plushie aisle. Happy crafting and happy shopping!

About Megan Burton: A lifestyle blogger from Green Bay, Megan loves style, a good deal and supporting her local Goodwill. You can find her on Instagram @megan.roshak.