At Goodwill North Central Wisconsin, we believe every secondhand find has a story just waiting to be retold. In our latest DIY video, we take a classic thrift-store denim jacket and give it a fresh, artsy update, showing how easy, sustainable, and fun secondhand fashion can be. If you watched the transformation and felt inspired, this blog post is for you! Here’s how and why to jump into your own denim customization project.
Why Upcycle Denim?
- Affordable creativity: Vintage denim jackets from thrift stores are budget-friendly canvases for self-expression.
- Eco-conscious flair: Upcycling reduces waste by breathing new life into used garments.
- Uniqueness guaranteed: No two custom jackets are the same. You get to wear your personality.
DIY Painted Denim Jacket Steps
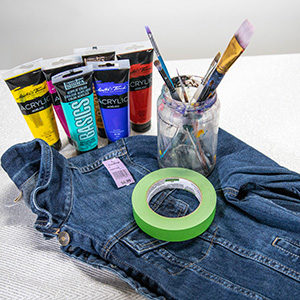
Supplies needed (Psst: You can find these at Goodwill NCW):
- Denim jacket (one with good structure makes the best base)
- Fabric or acrylic paint (ideally store-bought or leftover paint—it’s art repurposed again!)
- Paintbrushes of different sizes, plus optional stencils or painter’s tape
- Palette or paper plate, painter’s tape, and waterproof sealant (optional; for preserving colors)
01
Prep the jacket
Prep the jacket
Wash and dry without fabric softener. Draw a light outline of your design.
02
Mix your colors
Mix your colors
Experiment on scrap fabric. For bold geometric shapes like triangles, block in large swaths, letting each coat dry slightly before touching up.
03
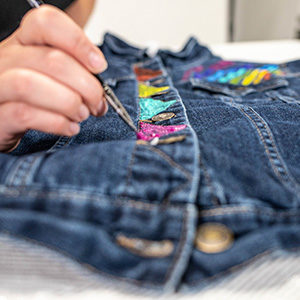
Add details & depth
Use smaller brushes or stencils for finer lines. In the video, you’ll see us adding contrasting shades and dots to enhance texture. .
04
Finish with a seal
Once dry, a clear fabric sealant protects your art and helps it last through washes.
05
Wear and wash it wisely
Turn inside out, use cold water, and air dry to maintain the vibrancy of your design.
This painted denim jacket project is more than just art. It’s a movement toward mindful consumption and personal inventiveness. You don’t need to be a seasoned artist. All you need is a love for creativity and a willingness to experiment.
Thank you for being part of the Goodwill NCW community. Let’s keep turning thrifty finds into stylish statements, one DIY at a time.